Archives

March Challenge

I have a huge freezer in the garage.  I am continually stocking it with things that I find on sale.

My freezer before.  Unorganized, full of frost, and full of food that needs to be utilized.

My freezer before. Unorganized, full of frost, and full of food that needs to be utilized.

I buy bread from the bread store about once a month and I store the bread in there until needed for lunches etc.  I buy French bread and Italian bread  from Wal-Mart when it is on clearance for about a dollar a loaf to help stretch our dinners.  I buy meats that are on sale, such as hams that were on clearance after Christmas or chicken breasts when on sale for $1.69 per pound.

This is all well and good until you need to defrost the beast.  I have been needing to defrost the freezer for some time.  I haven’t gotten around to it.  The ice buildup is so bad that I have 3 baskets that won’t fit  and allow the freezer to close properly with all of the ice buildup.

So, my March challenge is to organize and clear out the freezer so that I am able to defrost it.

It won’t be easy.

First off, I need to clean out my indoor freezer so that I can keep the things that I really need available through this process.  With 7 kids, we need bread etc.  The kitchen freezer will be critical to my success.  Also, I do have much of a whole pig out in the freezer. Of course, I don’t intend to eat all of that pork in a month, but I do want to get it organized to a point that it fits into a crate or two.

My plan is for March is because it is still quite cold here.  I can put my crates of organized food in the garage where it will still be really cold, unplug, clean and defrost the freezer.   I will then put it back together into a cleaned and organized space ready to be utilized.

Besides needing and wanting to get this done, I am hoping the cleaned and organized freezer will help me in a new goal of saving for a short cruise for all 9 of us.  The budget is fairly tight, so I am trying to cut our grocery, household, and miscellaneous spending and use the unspent funds to pay for the cruise.  I don’t know how it will go, but I’d really like to meet this goal.

How about you, are you putting off any chores etc. that you really should do?  I’m going to bite the bullet and get something done.    Here’s to a great March!

Ann

Lemon Poppyseed Muffins

20130323-151055.jpg

I made The Prudent Homemakers Lemon Poppyseed Muffins.
I was thinking about making them for a little while, but I didn’t have access to poppy seeds except at Kroger where they are $4.99.  I read on her website that she orders them in bulk, but I didn’t want to do that unless I was sure that the kids would like them. I even looked into the bulk supplies, but there was a minimum of $30 or $35 and I couldn’t come up with that amount if stuff to buy.

Anyway, we had a Rural King open up in our town and I went to check it out. They are kind of like a Tractor Supply, only better, says my husband. They have farm stuff and a variety of other stuff. They had a spice section and lo and behold they had Poppy Seeds for 99 cents!!
I bought them and tried them. They were easy to whip up and other than the poppy seeds, lemon juice is the only other special ingredient. I keep lemon juice, so it didn’t bother me.
This first batch of muffins were a little bland according to M my volunteer taste tester, but that may have been because my lemon juice was getting old.
I just purchased some organic lemon juice from Costco. I want to try them again! I will double the lemon to give them some zip!
I will let you know how the next batch turns out.

20130323-154528.jpg

Menu Planning Works

I have been trying to lower my grocery bill.  I am here to tell you Menu Planning works.  I have been trying to stay on top of menu planning and besides saving money, I am more organized.  This organization means that I am not in crisis mode come 4:00 when the kids are home and the baby is hungry.  I have a plan and all I have to do is execute it!  This is such a relief.  No more scrambling, fretting or worrying about what to eat, and no more emergency trips to the store because we all know that hauling a baby and a few other kids to the store when everyone is hungry is a BAD idea.

The only problem that I have is making a new menu plan when the old one has been used.  I know it is a life saver for me, but I still have to resist the urge to just wing it.

My plan isn’t earth shattering.  I just write out a week or more dinner ideas.  I go to grocerycartchallenge.com to see what Gayle is cooking this week, then I write below any ideas and the main ingredients so that I can make sure that I have what I need.  For example, if I write Lasagna on my meal idea underneath it I write lasagna noodles, ground beef, pasta sauce, mozzarella cheese, and cottage cheese.  I don’t write spices or things that I keep in stock, like milk, eggs, or butter.  If she doesn’t have anything that looks good, I go to food.com or allrecipes.com to look around for ideas.  I only look at recipes that have 4.5 to 5 stars since there are so many different recipes to choose from.  I also keep all of my menu plans from the past so that I can look back and see what we love that we haven’t had in a while.  I don’t plan hard or time-consuming recipes as with a baby, time is of the essence.  I want a nutritious meal without a ton of effort that everyone will enjoy.

After I have everything written down that I will need for the menu, I make my grocery list.  I check the freezer and pantry to be sure of what I will need at the store.  I check very carefully because if I forget something we will have to do without or make another trip to the store.  I try to stay out of the store so that I have less exposure to temptation.   This plan has been working very well for me!

How about you?  Do you menu plan?  Does it help your bottom line?

Ann

Cherry Coffeecake

I follow a lot of money-saving blogs.  One of them is called The Path to Frugality.    I love her ideas.   She thinks an awful lot like me.  At the bottom of one of her posts that I read, it said something like “you might also like” and there was a picture of her cherry coffeecake.  It didn’t look all that special, but I had some cherry pie filling I was wanting to use up as it was in the pantry for a long time.

This was absolutely delicious.  I ate like half of the 9 x 13 pan by the time it was gone.  The ingredients were already in my pantry or refrigerator, so no extra trip to the store to get extra items.  I used margarine in it as I had some left over from making Christmas cookies.  We use butter normally, but I find margarine works better with cookies.  I also didn’t use the nuts because I didn’t have them on-hand.

This coffeecake had a delicious taste and the topping was crunchy.  Pure heaven.  Give it a try, you won’t be disappointed…at least I wasn’t.

Cheesy Ham And Potato Soup

I have been trying some new recipes around here just like I stated in my goals.  I have a ton of ham in my freezer.  When I was cleaning out my freezer which was a mess and needs to be defrosted terribly, I found 12 hams…12!  That is a lot of ham.  I am trying to defrost the freezer, so we need to eat the food in it soon.  So, I have been looking for recipes that use ham.

This recipe came from food.com and I thought it was delicious.  I doubled it and we had some leftovers.  The kids ate it, but weren’t all that thrilled about it, but my husband and I liked it very much.  He said I should add some more cheese, but I thought it was awesome just as it was.  We had all of the ingredients on hand, so that was nice.  I made a loaf of homemade white bread and it was a delicious meal.

I hope you enjoy.

Learning To Use A Pressure Canner/Cooker

My husband got me a pressure canner/cooker for Christmas this year.  I wanted one several years ago, but when I started to read about them, I was easily overwhelmed.   First off, I didn’t realize that they could do two different things…cook foods or can low acid foods.  I put it on the back burner for a while, but after reading a blog where the lady does a lot of pressure canning, I wanted to try it to see if I could save us some money.

I used if for the first time yesterday to cook 2 pounds of beans.  I wanted to try something easy so I could build my confidence.  The beans turned out beautifully.  I’m not sure what I was expecting, but it went well.

The first thing I did was follow the directions for the quick soaking method.  For my beans it said to bring the beans to a boil for 2 minutes, remove from the heat, put a lid on, and let sit for one hour.  So that is what I did.  During that hour I reviewed my instruction book again.

The next step was to rinse the beans.  I rinsed them until the water was clear.  Then, as per the directions that came with the pressure cooker, I put the beans with just enough water to cover them.  I added one tablespoon of vegetable oil to help prevent foaming and one teaspoon of salt to help keep the skins on the beans.  This was in the recipe and instruction book.  I live in a lower altitude so I needed 11 pounds of pressure for 6 minutes to cook the beans (only 6 minutes!) to the desired softness.  I wanted to put them in soup, so I cooked them on the longer side of the scale versus 4 minutes (the shorter side of the scale) to have a harder beans to put in a salad.

It took forever to get the gauge to get off of zero.  Once the pressure started it wasn’t too long.  Actually,  it snuck up on me.  I looked away when it was at 8 pounds and when I looked back a couple of minutes later, it was at 13!  I didn’t know what to do so I moved it off of the heat and set the timer since it was above 11 pounds.  The minimum is 11 pounds for the entire cook time.  If it had dropped below 11 pounds at any time I would have had to restart the timer to 6 minutes.  I think this is to be sure they had enough cooking time to be safe to eat.  Does anyone know for sure?

I learned that once the pressure is up there, it is really slow going back down.  I never did get back to 11 during the actual cook time, it stayed at 13 for the whole six minutes.  I let it cool down on its own as per the owner’s manual.

After the pressure was down, I took the lid off of the canner and to my surprise the contents looked exactly the same!  I spooned out a couple of  beans to make sure they were soft, and they were!  Amazing to me.  There was no less water in the canner that I could see.  I don’t know what I was expecting, but apparently beans that hadn’t absorbed the water and looked exactly the same wasn’t it!

I found a website that did a conversion of dry beans to canned etc.  Here is the link if you are interested.  As per this chart, the 2 pound bag would be 12 cups of beans after cooking or eight 15 oz. cans of beans.  I love it!  I need this many to make a nice big pot of soup for our family.  I had these beans for a long time, but I think they were $1.99.  The cans of beans at the grocery are between 59 and 99 cents, so that is a big savings over buying store-bought beans.

Here are a few photos of my bean experiment.

These are the soaked beans that have been rinsed with clean water.

These are the soaked beans that have been rinsed with clean water.

These are the beans in the canner before cooking with the water, oil and salt.

These are the beans in the canner before cooking with the water, oil and salt.

Here I am lining up the arrows to be sure to close the canner properly.

Here I am lining up the arrows to be sure to close the canner properly.

These are the beans after cooking.  The water level is still the same.  As I look putting these on the blog the coloring is different, but the amount of liquid was about the same.

These are the beans after cooking. The water level is still the same. As I look putting these on the blog, the coloring is different because it was later in the day and I had the kitchen lights on, but the amount of liquid was about the same.

This was fun for me.  I am usually afraid to try new things.  Next, I want to try to can something in the pressure canner.

Working On My 2013 Goals (A Little Early)

I have been trying to take my 2013 goals seriously.  I have a tendency to start out great and then fizzle out.  I thought, that putting them here on the blog,  I might actually follow through with them!  My goals are here if you want to see them.  I have been baking zucchini bread and pumpkin bread.  I also have been making homemade bread to have with our dinners.  I used this recipe from moneysavingmom.com.  I have 2 bread machines so I can make 2 loaves at a time.  I use the dough setting like she says. I use white flour for now, but I hope to start sneaking some wheat flour in soon.   It turns out great!  The kids love it and it really helps to stretch our meals.  I enjoy doing this baking and cooking when I have the time and energy.  It helps when the baby cooperates.  Hopefully, I can get ahead of the game and then if the baby is having a bad day it is no big deal.

Here are a couple of pictures of my work.

Three loaves of zucchini bread.  The zucchini was pre-measured and frozen in my freezer.  It was from my garden.

Three loaves of zucchini bread. The zucchini was pre-measured and frozen in my freezer. It was from my garden.

Three loaves of pumpkin bread.  I bought this canned. It is from this fall.  I want to use it up.

Three loaves of pumpkin bread. I bought this pumpkin canned. It is from this fall. I want to use it up.

I have been trying to use up our leftovers too.  If you know me, you know that I don’t really like leftovers.  Thankfully, my kids do.  I am trying…I even ate my daughters leftover oatmeal (that is how serious I am about this goal!)

What do you hope to accomplish in 2013?

Enjoying Time With The Kids

IMG_2780IMG_2776IMG_2777IMG_2773

IMG_2745

IMG_2742

IMG_2757IMG_2754IMG_2772IMG_2778

It has been a great week off with the kids. We did some Chistmas baking, we went up to see my side of the family for Christmas, we braved a snow storm on the way home. We enjoyed another snowstorm last night and the kids are loving all of the snow.

I am enjoying not running around all of the time. We still have another 9 days off of school. Yahoo.

Do One Thing…

Half of my kids are out-of-town.  One is in New Mexico with the Boy Scouts on a trip to Philmont.  The other 2 are with my SIL in Kentucky.  With this little bit of freedom, I am trying something new.  I have several days to get a good start with this while there is less stress and fewer demands on my time.  Here is my brilliant thought…do one thing.

I am trying to do one thing each day that I don’t really want to do, but needs to be done.  For example, yesterday I cleaned out the fridge.  I certainly didn’t want to do it, but it needed to be done.  I bit the bullet and did it.  It took all of 30 minutes to get it done.  It wasn’t that big of a deal, but since the fridge closes, I close it and forget about it.

Another day this week, I baked 2 loaves of banana zucchini bread from a recipe at food.com.  Here is the link if you are interested.  http://www.food.com/recipe/banana-zucchini-bread-96994  It turned out great!  The only thing I did differently was add some extra banana since I had some lying around that needed to be used up.  Again, no big deal.  It probably took 10 minutes to get the stuff into the pans to bake for 45 min. to an hour.  I don’t know why doing this is so hard for me, but it is.

I have a tendency to let things build up, and then it is a bigger deal than it needs to be.  For example, if I were to work on baking something every day, the kids would always have stuff for breakfast and their lunch, but I get lazy and then we have nothing in the house and I have to bake and cook like crazy to fill the freezer again.  The kitchen gets completely trashed and it takes me 2 days to recover from the mess and exhaustion.  Then I don’t bake again until I’m close to being out of stuff again.  If I am tired when I run out of food, I buy stuff to fill the freezer at a much greater expense!  So I am going to do one thing…

I’ll let you know how it goes!

Getting Our Broiler Chickens Processed

We recently got our broiler chickens processed.  This year’s outcome was so much different from last year.  You can read about those adventure here if you are interested.

This year was completely different thankfully.  I changed some of the ways that I handled things with the chicks this year.  For example, I kept the chicks in the brooder for 3 weeks instead of the 10 days that I did last year.  Also, I gave them the vitamin stress pack that I purchased each day until it was completely gone instead of once a week or so like I did last year.  The vitamin pack lasted about 4 or 5 weeks out of their 7 to 8 weeks before processing.  Another thing was that this Spring was much warmer and there was hardly any rain, unlike last year.  I think all of these factors helped us to have a much better year this year.

This year we had one casualty when the chicks were a day old.  They actually gave us 26 chicks on our order of 25, so we processed 25 birds this year.

The price for processing was $74.50.  This included 2 twenty pound bags of ice.  I purchased 2 gallon Ziploc bags before I took the chickens in to be processed.  That was about $12.50, but I had 5 bags left over.  They sell bags at the processing place for $.50 each, so that would have been the same price, but without the leftover bags, so I save a few cents there.

My son and I got up on the day of processing at 6:15 a.m. because we had a 7:30 appointment.  We loaded the birds into 2 big rabbit cages on the back of the pick-up truck and took them the half-hour drive to the processing plant.

We only waited a few minutes before it was our turn.

I always watch them kill the birds to make sure nobody suffers.  I couldn’t take knowing that they suffered.  This is a great operation.  The birds are pulled from the cages and killed within 30 seconds.  None suffered at all.  The most stress for the birds is the travelling to the butcher, I think.  They are in the back of the pick-up with the wind blowing and bumping along the road when they are used to stable ground.  Of course none of this hurts the birds, but I am telling you what I think would cause the most stress.

At our processor, after killing the birds at one end of a building, you can see them heat the birds to loosen the feathers, and tumble the birds until all the feathers are gone.  Then they wash the birds to get all of the dirt and debris and manure off of them.  Then they put them into bins to go into the building where they do the actual butchering.

We took the truck and drove around to the other side of the building and got our containers ready.  They told us the price for the processing and the ice.  We paid and they put the birds in our containers.  We put the birds into the back of the truck, poured ice on them, put the lids on the containers and were on our way home.  This whole process took 30 minutes.  I checked my watch and we had a 7:30 appointment, and we were completely finished and driving home at 8:00 a.m.

When we got home, we put the containers in the garage to get them out of the sun.  I checked on them every 15 or 20 minutes to make sure there was enough ice and water to cool them down.  You have to wait about 4 hours or until the chickens cool to 40 degrees before putting them in the freezer.  I waited the correct time, I didn’t use a thermometer to check, but I could have.  I just know that when I was bagging the birds for the freezer, the birds were really cold, and the ice water was freezing!

I bagged the birds in the garage where my freezer is located.  I made sure my freezer which became my countertop was clean.  I took the birds out of the ice water and placed them on clean towels to let the excess water drip off to help avoid freezer burn.  I put 3 birds on each beach towel.  I  patted them dry and put them in the freezer bag.  I did this for all 25 birds.  Then I put them in one section of the freezer to make sure they were this year’s birds, and not last years.

After finishing the birds, I checked the freezer for last year’s birds and found one, so I pulled it out to eat and now I know that all of the birds left are this year’s.

After getting the birds put in the freezer.  I cleaned the freezer, put the towels in the washer and dryer on sanitize.  I sprayed the bins with cleaner and let them sit for an hour.  I washed everything thoroughly.

This was any easy way to get a year’s worth of whole chickens for the crock pot.  I know what the birds ate, and drank.  I know that they are hormone free.  I how they were treated kindly and that they had a good life.

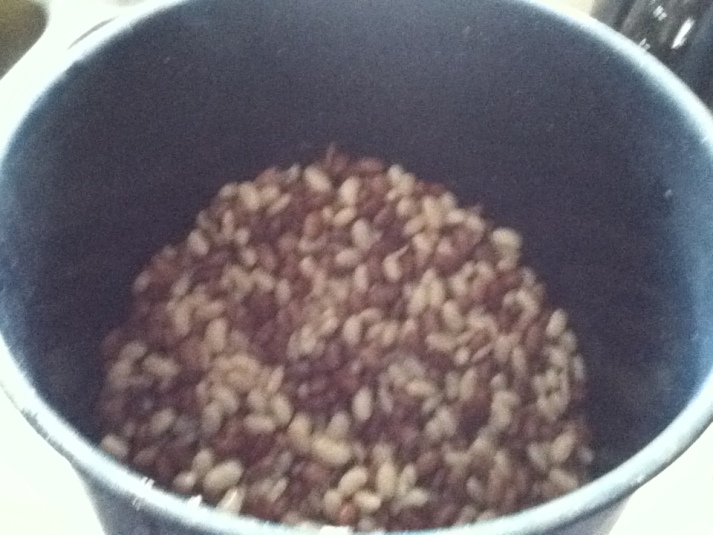
The broiler chickens the day before processing.

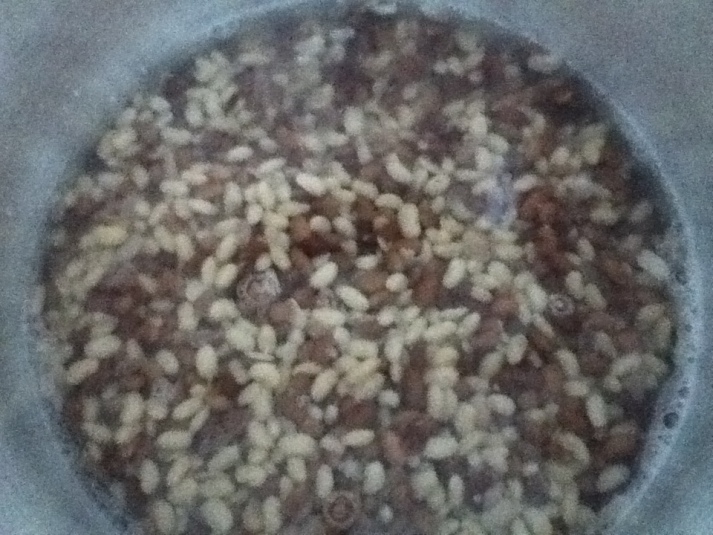
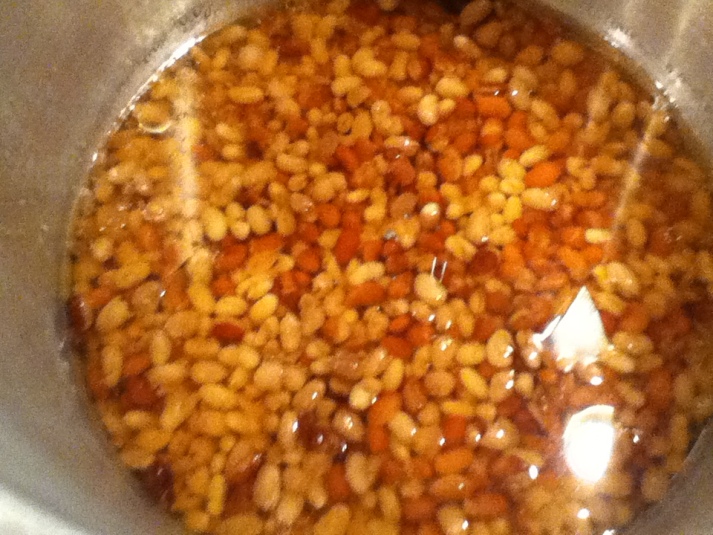
The broiler chickens sitting in ice water cooling down.  I had already started drying and bagging them at this point which is why some are sitting on top of the ice water.

Letting the birds drip off the excess water before patting them dry and putting them into the freezer.

A few birds bagged and ready for the freezer.

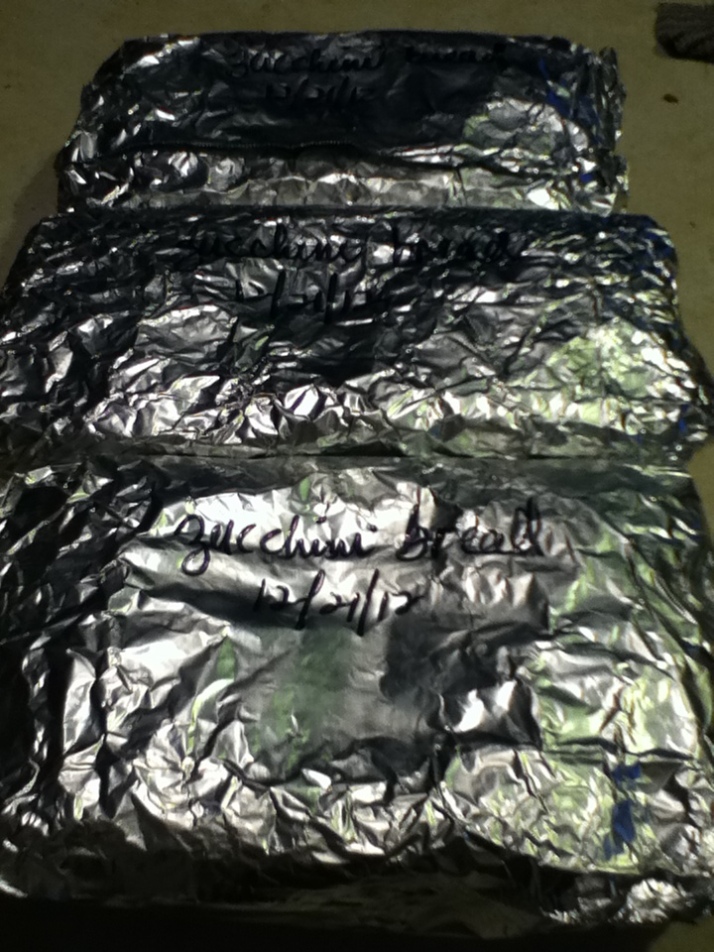
The birds in the freezer! Yeah.

Making sure everything was clean after touching the birds.

Washing and drying the towels on sanitize to make sure all the germs are killed.